Page 3 of 3: Adding Titles
Step 4: Adding Titles
Ok, use the  button to load in your video files one by one. After loading a video file, the video file will be added to the list on the left hand side (and if you selected to use menus, a menu item is also added to the top of this list). You can expand the title to show the audio/video/chapters and other information for this track.

You can expand the "Audio" listing to enable/disable audio tracks to be included on the DVD. You can right click on the "Subtitle stream" listing and add a subtitle for the file - supported subtitle formats include idx, sub, srt, ssa and ass. You can right click on the "Chapter" listing and add new chapter stops, or expand the chapter listing and edit any of the automatically created chapter stops.
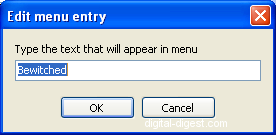
Double click on the "Menu text:" option to change the name of this video track (that will be displayed on the track select menu).

Expand the "Source details" to see the details of your input file - here you can see the frame rate like I described earlier. Finally, expand "Image processing" to access the option to fit the video to screen (might make widescreen video look a too tall - this option is good if you have full-frame video that isn't exactly 4:3 in ratio). The De-interleave option can be selected here just like in the "Settings" menu (don't select it unless your source if interleaved/interlaced - as explained previously, most videos don't need this enabled, except for video from a DV source or certain types of HDTV recordings).
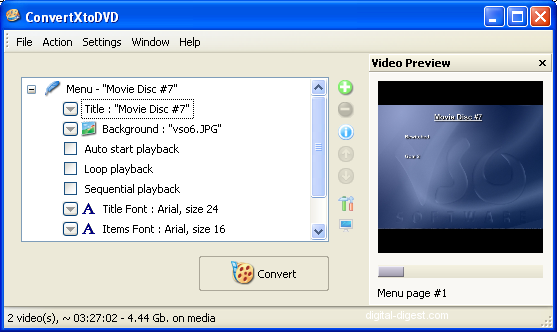
Now load in all your video files. You can use the up and down arrows to change the playback order. When you are done, expand the "Menu" item.

First, change the title of the DVD to something less generic than "My DVD". You can then change the background of the menu. The menu options found in "Settings -> Menu" are available here as well (see Step 3 for an explanation of these options). A preview of how the menu will look can be seen on the right hand side.
All that is left to do is to click on the "Convert" button, and ConvertXtoDVD will start it's work and produce a DVD for you. This could take a while, possibly as long as the lengths of the movies themselves. After ConvertXtoDVD finishes, you will either have a newly burnt DVD (if you selected to burn straight to disc option), or you will have a DVD folder (complete with VIDEO_TS folder, IFO, BUP and VOB files) ready for testing and burning. You can test playback in PowerDVD or another software DVD player, and if you are happy with the results, burn to DVD using ImgBurn, using our Burning a DVD Folder with ImgBurn guide if you wish. And we're done 
Got more questions? Post them in our ConvertXtoDVD Forum and get them answered by other expert users.

 Home
Home

