Page 3 of 3: Using TMPGEnc: Converting DivX/XviD files to MPEG 2
Select how much of the disc capacity you want to use. As we are using a DivX file and quality is not going to be that great, select something like 98% or 99% at this value so that you will not have to write the outsides of the disc, where most discs have problems (red). Make sure that the Average Video Bitrate changes when you change the disc capacity you want to use (blue). Then click "Next". (Screen Shot Below)
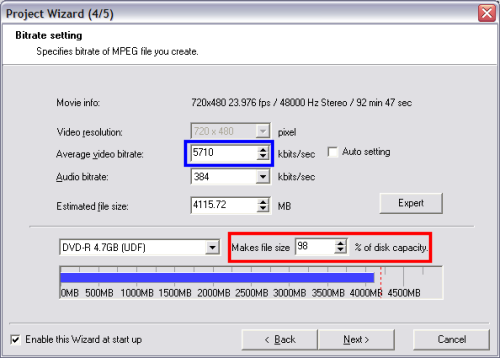
(If a warning screen pops up saying that the resulting file size may be larger than 4GB, just ignore it and click "Yes" to continue anyway.)
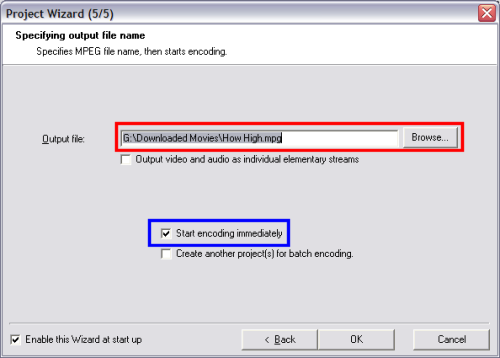
After clicking the "Next" button, this screen will come up allowing you to pick a destination directory for TMPGEnc to save the file in (red). After picking the directory, make sure you put a check mark in the "Start Encoding Immediately" box (blue). Then click "OK". (Screen Shot Below)
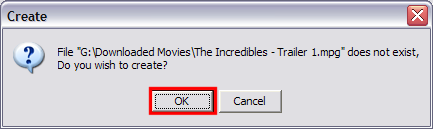
After clicking "OK", this warning screen may pop up, just click "Yes". (Screen Shot Below)
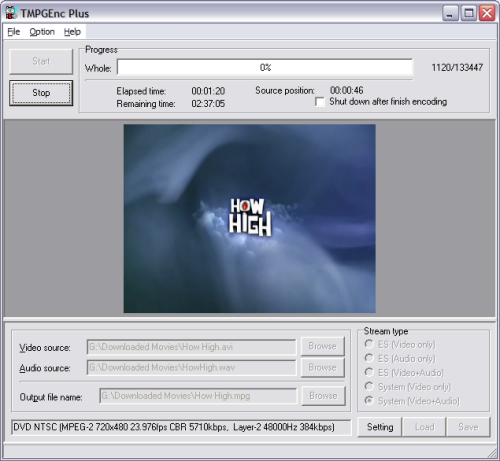
Now just wait for it to finish encoding. This could take generally anywhere from 2-5 hours depending on your computer specs and the size of the source file. (Screen Shot Below)
***Now we have converted our .avi/DivX file to a MPEG2 but, unfortunately this is not enough. To create a DVD-Video disc we do not need a .mpg file but, rather some .VOB, .IFO and .BUP files, which tell to our DVD player how to playback the DVD. To create these files, you will need to have a DVD Authoring program, such as TMPGEnc DVD Author. Although, there are many programs that do the same thing as TMPGEnc DVD Author, and you may have one that was included/pre-bundled when you bought your DVD burner/writer. ***
To learn how to convert your MPEG2 file to compliant DVD structure, click here.
(If a warning screen pops up saying that the resulting file size may be larger than 4GB, just ignore it and click "Yes" to continue anyway.)
After clicking the "Next" button, this screen will come up allowing you to pick a destination directory for TMPGEnc to save the file in (red). After picking the directory, make sure you put a check mark in the "Start Encoding Immediately" box (blue). Then click "OK". (Screen Shot Below)
After clicking "OK", this warning screen may pop up, just click "Yes". (Screen Shot Below)
Now just wait for it to finish encoding. This could take generally anywhere from 2-5 hours depending on your computer specs and the size of the source file. (Screen Shot Below)
***Now we have converted our .avi/DivX file to a MPEG2 but, unfortunately this is not enough. To create a DVD-Video disc we do not need a .mpg file but, rather some .VOB, .IFO and .BUP files, which tell to our DVD player how to playback the DVD. To create these files, you will need to have a DVD Authoring program, such as TMPGEnc DVD Author. Although, there are many programs that do the same thing as TMPGEnc DVD Author, and you may have one that was included/pre-bundled when you bought your DVD burner/writer. ***
To learn how to convert your MPEG2 file to compliant DVD structure, click here.
