Making a DVD from your Home Movies Using Nero Recode 2Original Page URL: https://www.digital-digest.com/articles/home_movies_to_dvd_recode_page1.htmlAuthor/Publisher: jmet Date Added: Jun 7, 2006 Date Updated: Jun 7, 2006
This guide starts out assuming you have already ripped and transferred the video to your hard drive.
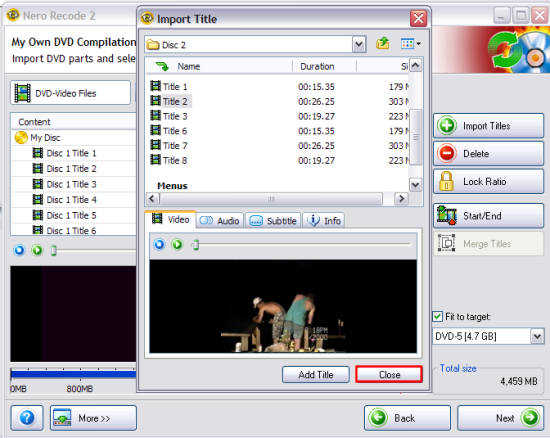
This guide I am taking several different home movies of mine and combing them to one DVD. When ripping, I created new folder called "Disc 1", "Disc 2", etc. I then used Nero Recode to export whatever title I wanted out of that folder into my compilation. Lets start off by starting Nero Recode 2. Once is has started, go ahead and click "Remake a DVD" from the list (red). It should be the third option from the top. [Screen Shot Below] 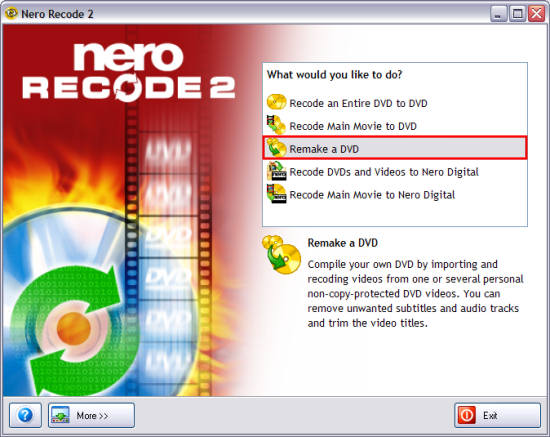 That will bring up the DVD Compilation screen. From here just click the "Import Titles" button (blue), and then navigate to where you saved the files from your rip (purple). Go through each title if there are more than 1 to find the one you want (green). [Screen Shot Below] 
After you have picked all the titles you want, click the "Close" button (red). [Screen Shot Below]
 That will bring you back to the main Recode screen. Now we are going to use the "Start/End" feature (blue) of Nero Recode. The reason why is when I recorded my home movies, sometimes the camera stayed on for about 15 min after before I actually stopped it. So what I am going to do here is actually cut that part out of each title that has it. Click the title you wish to edit (green), then click the "Start/End" button (blue). [Screen Shot Below] 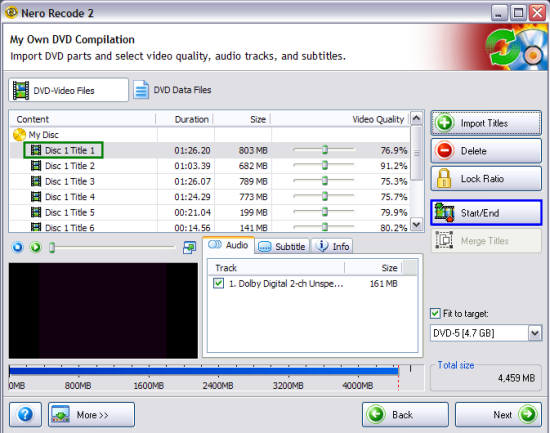
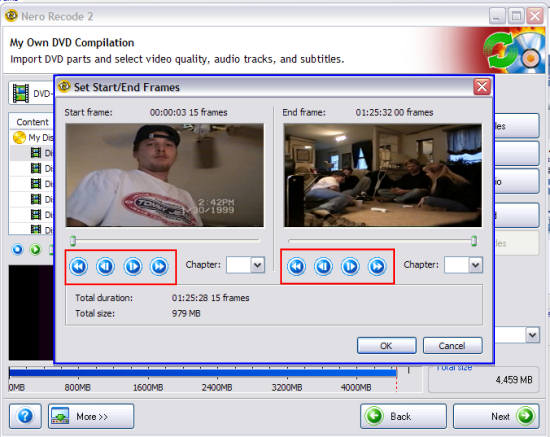
After clicking the "Start/End" button, a new window will pop up allowing you to fast forward and rewind parts of that title (blue). Find the place you want to it to start at and the place you want it to end by using the fast forward button and the rewind button (red). Click the "OK" button when you are finished. Don't forget to do that to each title if you have multiple titles. [Screen Shot Below]
 That will return you back to the main Recode screen. Just click the "Next" button to go to the "Burn Settings" screen , then select a "Destination" folder/directory that you want Recode to save the files in or pick your burner to have Nero Recode automatically burn it to a disc for you (green). [Screen Shot Below] 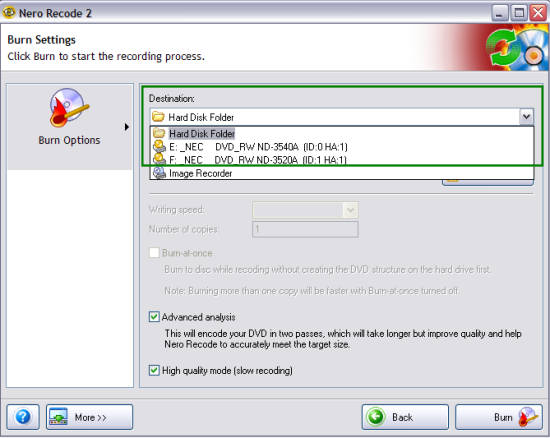
|