Using Nandub - Splitting/Cutting AVI FilesOriginal Page URL: http://www.divx-digest.com/articles/article_nandub_cutavi_page1.htmlAuthor/Publisher: jmet Date Added: Dec 29, 2005 Date Updated: Dec 29, 2005 Software you will need:
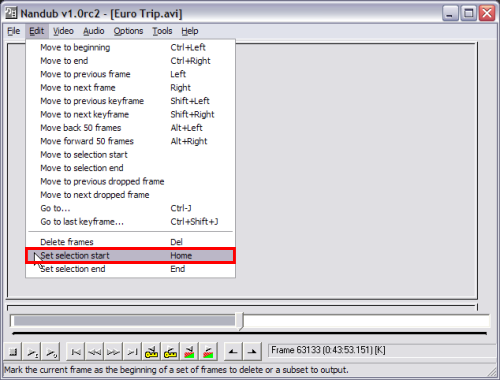
Below I will show you how to split/cut your .avi file in to two parts. Very handy if you wish to burn to a CD-R, which only holds max 700MB. There are actually 2 ways of doing this, one with Nandub and the other with the more recently updated VirtualDubMod. The VirtualDubMod method is located here. Instructions for joining AVIs using VirtualDubMod can be found here Nandub Method Start up Nandub then click "File" at the top, then "Open video file...", then find your .avi file and load it into Nandub. After loading your .avi file, click "Video" at the top, then click "Direct stream copy". (Screen Shot Below) 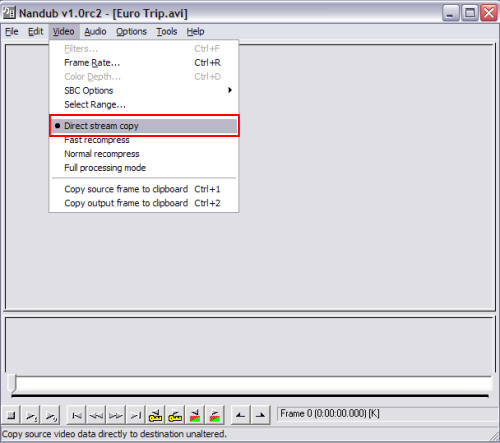 Now click "Edit" at the top, then click "Set selection start". (Screen Shot Below) 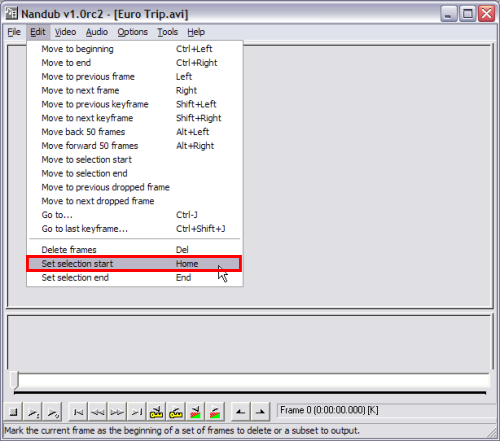 Now you have two methods you can use to set the ending point for the first avi. You can set it manually by which frame you want it to end at (easy method) or you can set it automatically by what size you want it to be (easier method).
Manually by frame: After step 2, hold down the shift key and drag the slider to where you want the first avi to end (blue and red arrow). After that click "Edit", then "Set selection end" (red box). (might take a couple of tries to get the perfect frame) (Screen Shot Below) 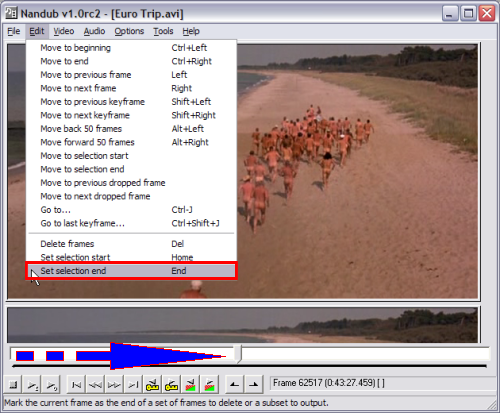 or Automatically by size: After step 2, click "Edit" then "Go to last keyframe...", this window will pop up. Here you would enter in the final output size you desire (the size of the CD your burning it to, minus about 2MB). If you want the avi file to be under 700MB, put "698" or "699" in that box (red). The reason for the minus 2 MB is cause Nandub cuts by "keyframes", so the next possible key frame after "698" or "699" might be 1 MB to big for the destination media). After pressing "OK", it will bring you back to the main Nandub screen. Now click "Edit" at the top and click "Set selection end". Now press "F7" to save the first avi. (Screen Shot Below) 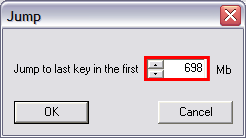 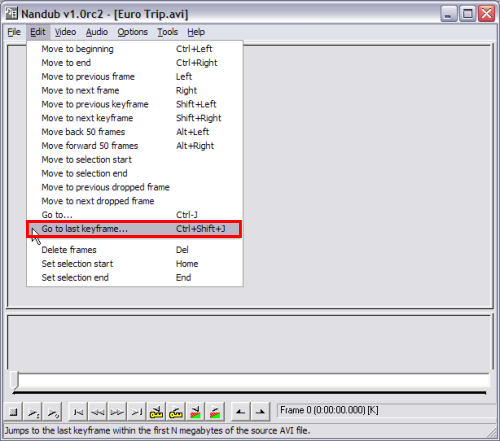 Now that you have "Saved" the first part of the avi file. Its on to saving the second part, which is extremely simple. As soon as it gets done saving the first part, it will return you back to the main Nandub screen. Just click "Edit", then "Set selection start" (for the 2nd avi to start where the first avi ended). (Screen Shot Below)
 Then drag the slider bar to the end (or where ever you want the 2nd avi to end) and then click "Edit" then click "Set end selection". Then hit "F7" to save it. (Make sure you save it as part 2 of something different than you saved the first avi) (Screen Shot Below) 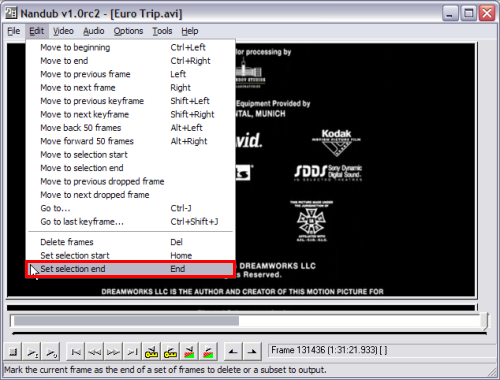 After it gets done, you should have to seperate avi files of the same orginial avi file. (Screen Shot Below) 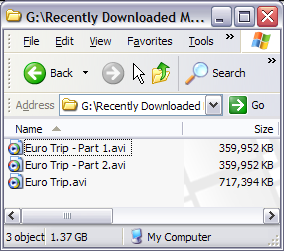 |